As an Amazon Associate, we earn from qualifying purchases. Some links on this site are affiliate links at no extra cost to you. Our recommendations are based on thorough research and editorial judgment.

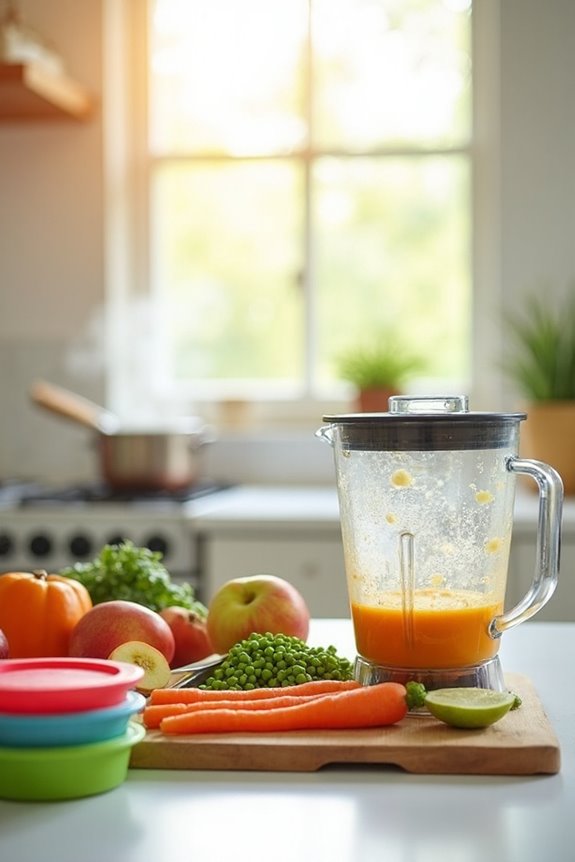
How to Make Homemade Baby Food: A Step-by-Step Guide

Making homemade baby food is easy and rewarding. Let’s prioritize fresh, in-season ingredients—think apples for sweetness, carrots for a vitamin boost. Use blenders for purees, and steam veggies to preserve nutrients. Cook meats to 165°F, ensuring they’re safe. For storage, freeze in portion-sized cubes. Always label, date, and use airtight containers. By focusing on fresh ingredients and safe practices, you’ll whip up nutritious meals for your little one. Next, let’s embark on a deeper journey together.
Key Takeaways
- Select fresh and locally sourced fruits and vegetables for optimal flavor and nutrition.
- Use equipment like blenders and steamers to prepare smooth and nutrient-rich purees.
- Thoroughly wash, peel, and chop fruits and vegetables before cooking.
- Ensure meats reach an internal temperature of 165°F for safety and nutrition.
- Store prepared baby food in airtight containers, labeling and freezing for future use.
Choosing the Right Ingredients
You may be interested



When it comes to choosing the right ingredients for homemade baby food, we should always prioritize what’s fresh and in season. Seasonal ingredients not only ensure the best flavors but also pack a punch with nutrients. By selecting locally sourced fruits and vegetables, we’re supporting our community while offering the best for our babies. Here’s what to include:
- Fruits like apples and bananas for natural sweetness
- Vegetables such as carrots and broccoli for a vitamin boost
- Proteins from chicken or fish to support growth
Essential Equipment for Baby Food Preparation
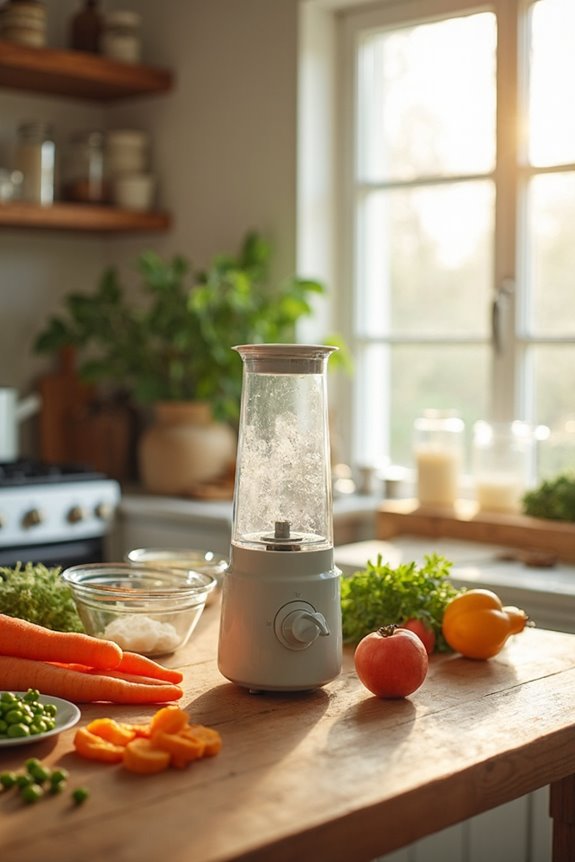
To get started with preparing homemade baby food, having the right equipment is crucial for making the process smooth and effective. Let’s explore what we need:
- Blender Types: Great for getting the perfect puree.
- Food Processor Features: Handle both small and large batches effortlessly.
- Immersion Blender Benefits: Quick blending with minimal cleanup.
- Steamer Uses: Preserve nutrients while cooking.
For safety and efficiency, a serrated utility knife is vital, ensuring knife safety when slicing. Suction bowls reduce spills, making mealtime less messy. Storing food properly is easy with various storage container options. Hygiene equipment like steam cleaners and dishwashers keep everything spotless. By using the right tools, we can create nutritious and delicious meals for our little ones, ensuring their health and happiness.
Recommended Products

𝗦𝘁𝗲𝗮𝗺𝗶𝗻𝗴 𝗮𝗻𝗱 𝗕𝗹𝗲𝗻𝗱𝗶𝗻𝗴 𝗶𝗻 𝗢𝗻𝗲: The height of the blender container is 4.13 inches, and the outer diameter is 4.17 inches.This GROWNSY baby food maker thoughtfully designed for babies 6 months+ during the weaning stage.It seamlessly combines steaming and blending in a single device, simplifying meal prep and eliminating the need for extra kitchen tools. The built-in sterilizer mode saves time and effort, giving you more precious moments with your baby.

Infant&Baby-Grade Safety Design: Plodon baby food maker is crafted from high borosilicate glass and 316 stainless steel, the built-in lid safety lock and automatic shut-off feature that ensure maximum safety. All components are BPA-free for your baby's safety. Your little one's health is our top priority. This is a super great item for a Mommy To Be & Baby Shower Gifts!
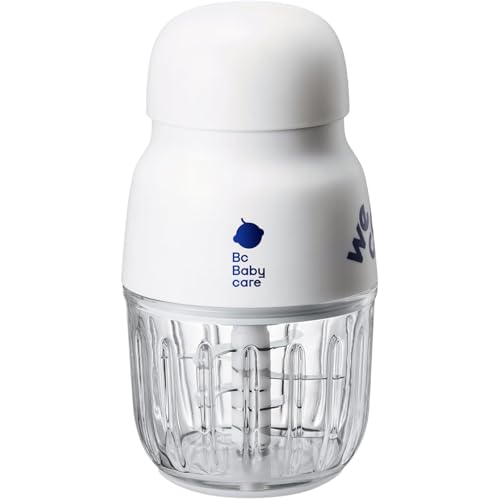
【High-Efficiency Food Processing】Equipped with a high-speed smashing motor, this baby food maker can chop fresh fruits, vegetables, meat, and more into nutrient-rich purees in just 8 seconds. Its 6-layer 8-blade design ensures ultra-fine textures for easy digestion and absorption by your baby's delicate stomach. For harder ingredients like potatoes or carrots, we recommend steaming them first and adding a small amount of water to achieve smoother results.
Preparing Fruits and Vegetables
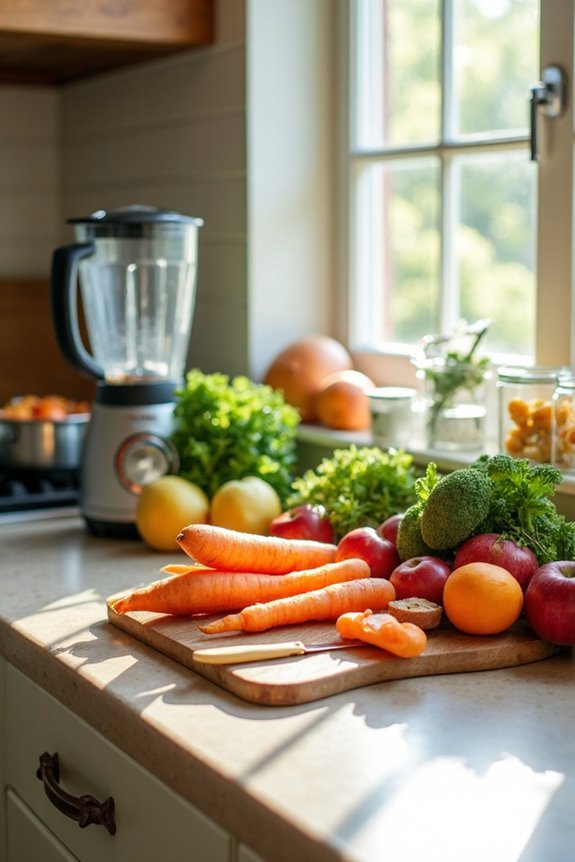
Now that we’ve got our essential equipment ready, let’s focus on preparing fruits and vegetables for our homemade baby food. For fruit selection, start by washing them thoroughly to remove dirt and chemicals. Peel fruits like apples, ensuring they’re free from pesticide residues. Chop them into small pieces for even cooking, and don’t forget to remove any seeds or pits. Once cooked, blend fruits until smooth to prevent choking hazards.
When preparing vegetable varieties, wash them well to eliminate contaminants. Peel vegetables such as carrots and potatoes, chop them into uniform pieces, and steam them until tender. This method retains more nutrients. After cooking, mash the vegetables to make them easily digestible. With patience and care, we can create delicious and healthy meals for our little ones.
Recommended Products

【4-in-1 Baby Food Maker】Multifunctional baby food processor with steamer. You can steam cooks, blends, defrosts and reheats healthy food, which satisfy the needs of daily infant feeding. This baby food steamer is suitable for all vegetable, fish, fruit and meats.The unique steam circulation system locks in nutrients, flavors and vitamins, ensuring your baby benefits from delicious and healthy homemade food.

【4-in-1 Baby Food Maker】Multifunctional baby food processor with steamer. You can steam cooks, blends, defrosts and reheats healthy food, which satisfy the needs of daily infant feeding. This baby food steamer is suitable for all vegetable, fish, fruit and meats.The unique steam circulation system locks in nutrients, flavors and vitamins, ensuring your baby benefits from delicious and healthy homemade food.
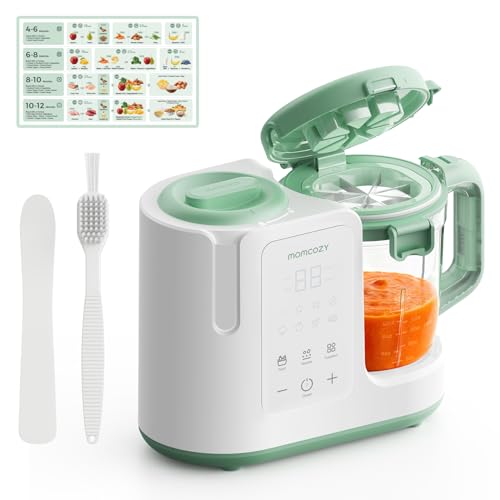
𝟑-𝐌𝐢𝐧𝐮𝐭𝐞 𝐏𝐫𝐞𝐩, 𝐈𝐭 𝐇𝐚𝐧𝐝𝐥𝐞𝐬 𝐭𝐡𝐞 𝐑𝐞𝐬𝐭 - Spend just 3 minutes prepping — the Momcozy Baby Food Maker automatically steams and blends in 18–25 minutes. No food transferring needed. For frozen ingredients, extend the duration in Auto Mode. Making fresh, healthy baby puree has never been easier.
Cooking Methods for Meats and Proteins
As we dive into cooking methods for meats and proteins, it’s crucial that we prioritize both nutrition and safety for our little ones. Let’s begin with boiling techniques. By removing excess skin, bones, and fat, we ensure only the best parts are used. Cut meats into 1/2-inch cubes and cover them with water, maintaining low heat to retain tenderness. Boil until the meat is easily flaked, then drain thoroughly.
For grilling tips, briefly grill proteins to enhance flavor while keeping moisture. Choose lean options like chicken or turkey for lower fat content. Ensure proteins reach an internal temperature of 165°F (74°C) for safety. Clean utensils and surfaces are key to preventing contamination, ensuring that our babies enjoy nutritious, safe meals every time.
Recommended Products

Universal--Built with a 500W powerful pure copper motor and S shaped Bi-level blades, this electric food chopper is able to chop, blend, puree, mix and mince throughly and evenly in no time, with each task taking approximately 10 seconds to done.

EASY HOMEMADE PUREES: Make fresh, wholesome baby food by hand without cords or noise, perfect for quick meals at home or while traveling. Simple manual operation lets you control texture for growing appetites, supporting smoother transitions from soft to slightly thicker foods.
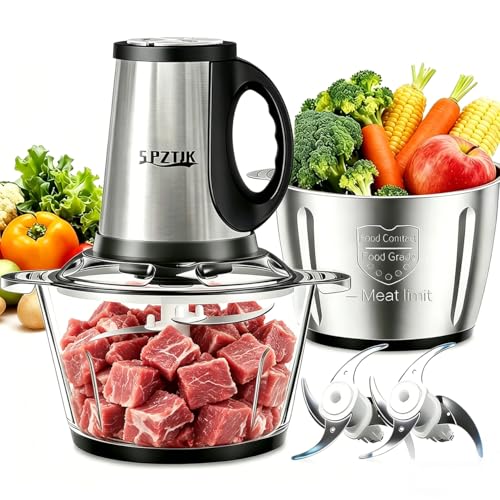
【Effortless Food Prep】Say goodbye to tedious chopping! The SPZTJK electric food chopper chops, mixes, blends, whips, and grinds with a simple push. Removable blades make cleaning a breeze, turning tedious chores into quick, enjoyable moments.
Safe Storage Practices
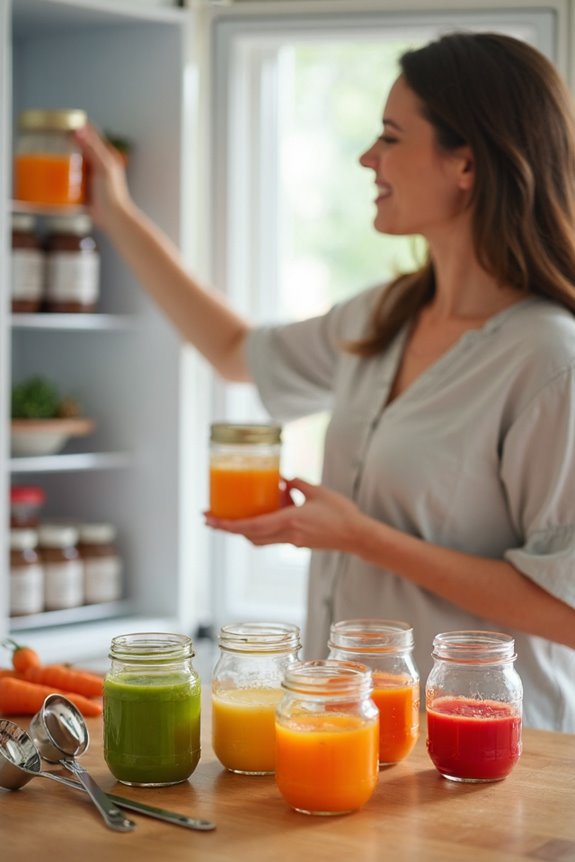
Storing baby food safely is a crucial step in ensuring our little ones get the most nutritious meals possible. Let’s discuss refrigeration techniques and freezing methods. When refrigerating, always use airtight containers with tight-fitting lids. Label and date them, then store strained fruits and veggies for 2 to 3 days and meats for 1 day.
For freezing, try using ice cube trays for easy portioning, as each cube equals one serving. Store these in airtight freezer bags, leaving 1/2 inch space for expansion. Remember, homemade baby foods can be frozen for up to three to four months.
Thaw frozen cubes in the fridge or a cold water bath, and reheat to above 165°F to ensure safety. This keeps meals fresh, nutritious, and ready whenever we need them.
Recommended Products

Mess-Free Filling – No Food Splashing: Anti-splash tubing design prevents puree from splattering while filling. Keep your kitchen counters clean and enjoy fast, hassle-free pouch prep.

Effortless Meal Preparation: Streamline your baby's nutrition with our 3 Pack Silicone Freezer Tray. Batch prepare baby food, purees, breastmilk, and more for efficient and convenient meal planning.
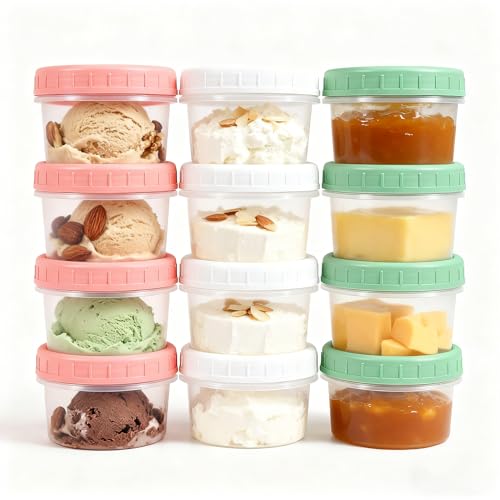
12 Pack 4oz Food Storage Containers with Twist Lids:Includes 12 reusable 4oz containers with twist-top lids, perfect for storing soups, stews, sauces, overnight oats, and leftovers. Made of BPA-free food-grade plastic, these food storage containers with lids are safe for daily use and ideal for meal prep, freezer storage, or on-the-go meals.
Ensuring Nutritional Balance
When it comes to ensuring nutritional balance for our little ones, it’s all about variety and careful planning. We want to provide a nutrient diversity that supports their growth, so let’s focus on balanced meals. Start with fruits and veggies; they’re packed with essential vitamins and minerals. Steaming or microwaving keeps their nutrient profile intact, while pureeing them to the right consistency ensures they’re safe for baby.
Proteins are key, offering amino acids and iron. Include meats, fish, beans, and eggs, cooking them thoroughly. For dairy, choose whole milk, yogurt, and natural cheese to support bone health. Grains should be whole and cooked soft, providing fiber and B vitamins.
Let’s monitor their progress and consult pediatricians to keep informed.
Avoiding Common Allergens
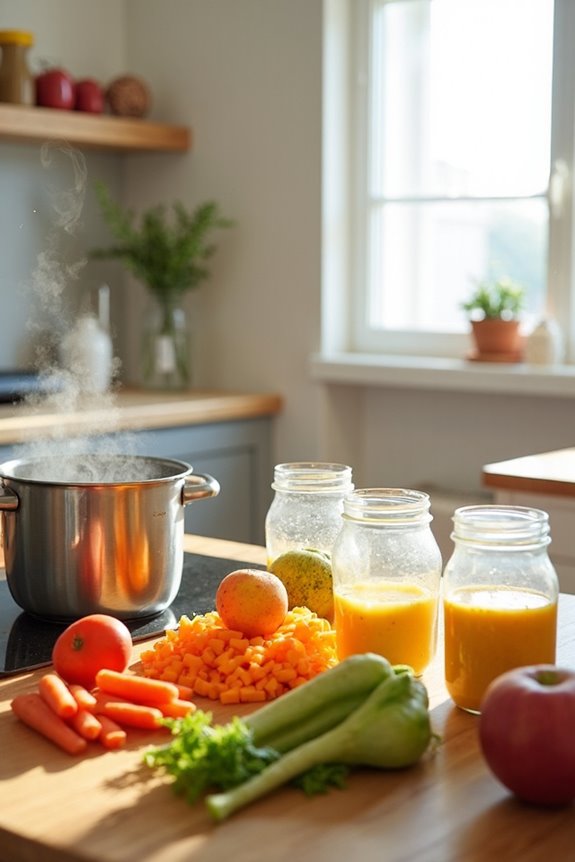
Navigating the world of baby food allergies can feel daunting, but with a little knowledge and preparation, you can make it a smoother journey. Allergen awareness is crucial when introducing common allergens like cow’s milk, eggs, peanuts, soy, and tree nuts. We should start by introducing these around 6 months, using non-choking forms like nut butters or soft tofu. Let’s gradually introduce them, increasing the amount over time, while closely monitoring for any reactions. If your baby has severe eczema or an existing allergy, they’re at higher risk for new allergies, so consulting a healthcare provider for personalized advice is wise. Remember, early exposure to allergens like peanuts might even help reduce allergy risks, offering some peace of mind.
Maintaining Cleanliness and Safety
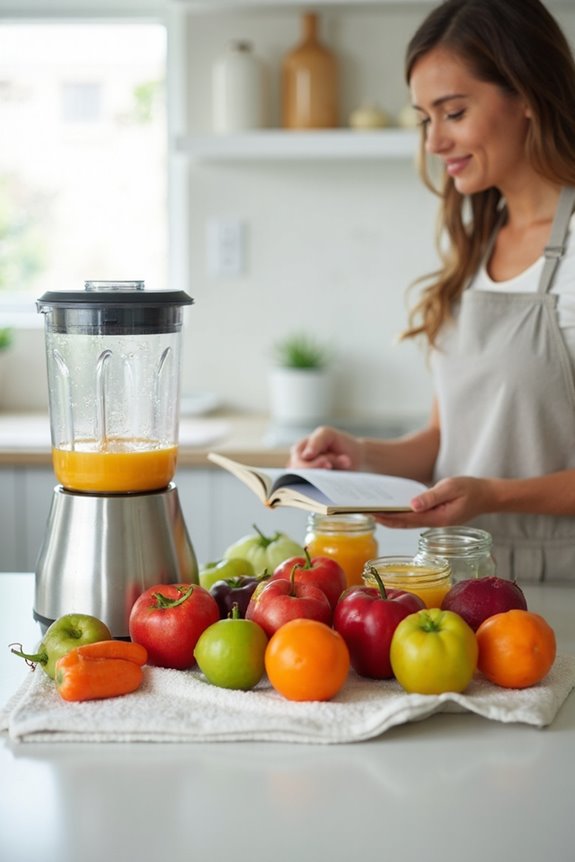
Maintaining cleanliness and safety in the kitchen isn’t just a good practice—it’s essential for keeping our little ones healthy while we prepare their food. Let’s start with some basic cleaning techniques. We should wash our hands thoroughly for at least 20 seconds before handling anything. Utensils, cutting boards, and countertops need regular cleaning and sanitizing to prevent contamination. Washing produce is also crucial.
When it comes to food safety, ensuring meats and fish are free of gristle, skin, and bones is vital. Cook foods to proper temperatures—use a food thermometer to be sure. Keep raw and ready-to-eat foods separate to avoid cross-contamination. Pureeing fruits and veggies helps prevent choking hazards. Finally, label and date stored food to track freshness.
Recommended Products

Fast and Accurate Reading: Kitchen thermometer for cooking features a 1 second readout speed and high accuracy of +/-0.9 degrees Fahrenheit, ensuring you receive the most delicious results every time

Fast & Accurate: Get precise readings in just 1 second with ±0.9°F accuracy. NSF Certified for trusted food safety, this digital food thermometer features a 4.3 inches food-grade stainless steel meat probe, perfect for grilling, frying, baking, making candy and more

Included components: Thermometer, Sleeve
Tips for Serving and Feeding
As we keep our kitchen clean and safe, let’s now explore how to serve and feed homemade baby food in a way that supports our little ones’ development and curiosity. Creating a nurturing meal environment involves:
- Feeding Techniques: Start with small spoonfuls, observing your baby’s reactions. This helps us ensure they’re comfortable and enjoying their meal.
- Temperature Control: Serve food slightly warmed, making it more appealing.
- Interactive Feeding: Engage with your baby, offering a spoon or letting them explore self-feeding to boost their independence.
Frequently Asked Questions
How Can I Make Baby Food Without a Blender?
We can make baby food without a blender by using mashing techniques and simple food processing tools. Try a fork, potato masher, or mortar and pestle to mash ingredients like avocados or sweet potatoes for our little ones.
Can I Use Tap Water to Make Baby Food?
We can use tap water to make baby food if it’s safe. Let’s ensure tap water safety by testing it and consider water purification. We want the best for our little ones, keeping them healthy and happy.
Is It Safe to Use Frozen Fruits and Vegetables?
We can trust frozen foods for our baby’s meals, as their safety and nutritional value are well-maintained. With proper handling, they offer convenience and nutrients, making them a great option for homemade baby food.
How Do I Introduce Spices or Herbs to Baby Food?
Let’s explore spice introduction together. We’ll start with mild herbs like basil, enjoying their benefits, while avoiding hot spices. Gradually introduce these flavors, mixing them with familiar foods, and watch our babies’ taste buds flourish.
How Can I Reduce Waste When Making Baby Food?
Let’s reduce waste together by selecting versatile ingredients, organizing food storage efficiently, and using reusable containers. We’ll embrace seasonal produce, compost scraps, and ensure our freezer’s a well-ordered haven for delicious homemade baby meals.